How to Install Arial Unicode MS Font
Arial Unicode MS comes with Microsoft Office; however, it's usually not installed by default. If you are missing the font, you can install it manually, even if Microsoft Office is installed already. You may need your original Microsoft Office installation CD. Instructions outlined below are for Office 2010 and Windows 7, but the instructions for other versions of Office and Windows are similar.
- Open Programs and Features from Control Panel in Windows 7 or Add or Remove Programs on Windows XP.
- Find your version of Microsoft Office in the list of programs and select it.
- In Windows 7, click on Change button at the top. In Windows XP, click on Change button after it appears when selecting your Office version.

- Next, select Add or Remove Features.

- Lastly, under Office Shared Features --> International Support, select Run from My Computer for the Universal Font item. Universal font is Arial Unicode MS.

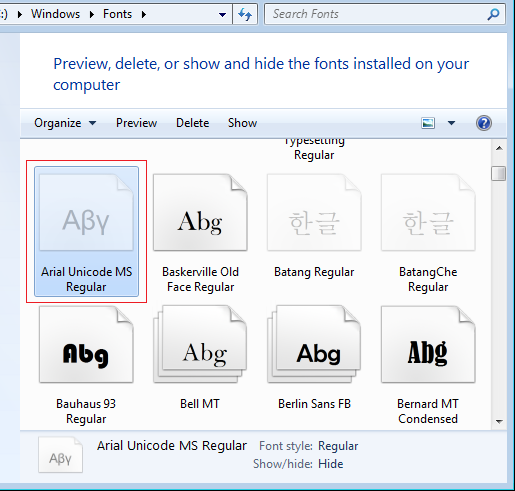
- Confirm the font has installed by checking your C:\Windows\Fonts folder.

Once installed, then you can change the font to Arial Unicode MS in any application that supports changing fonts (such as Excel, PowerPoint, Word, Publisher, etc.). Some programs do not allow changing the default Shruti to Arial Unicode MS, such as text editors (Notepad, WordPad, etc.). Below is an image showing Arial Unicode MS being used in Microsoft Office Word.

